AI Insurance offers a user-friendly forms editor that lets you create, edit, or import your existing policy form templates. You can also add Smart Tags to fill in details about insured individuals and policies automatically. With familiar word processing tools, you can easily modify your forms—all in one place.Documentation Index
Fetch the complete documentation index at: https://docs.aiinsurance.io/llms.txt
Use this file to discover all available pages before exploring further.
View forms
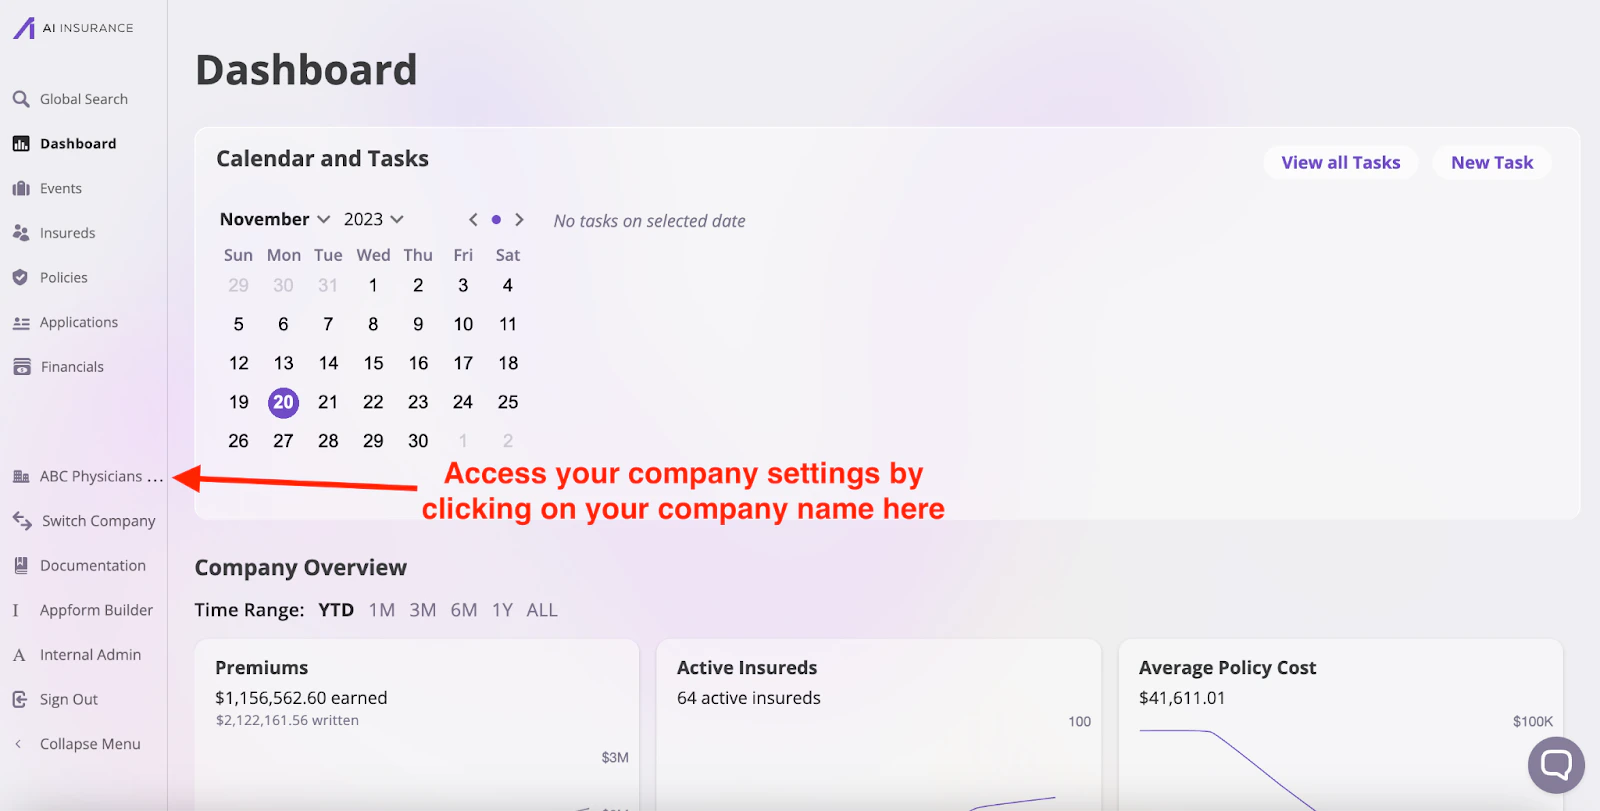
Follow these steps to view your forms:- Navigate to the left sidebar and click on your company’s name to open the company-level settings.
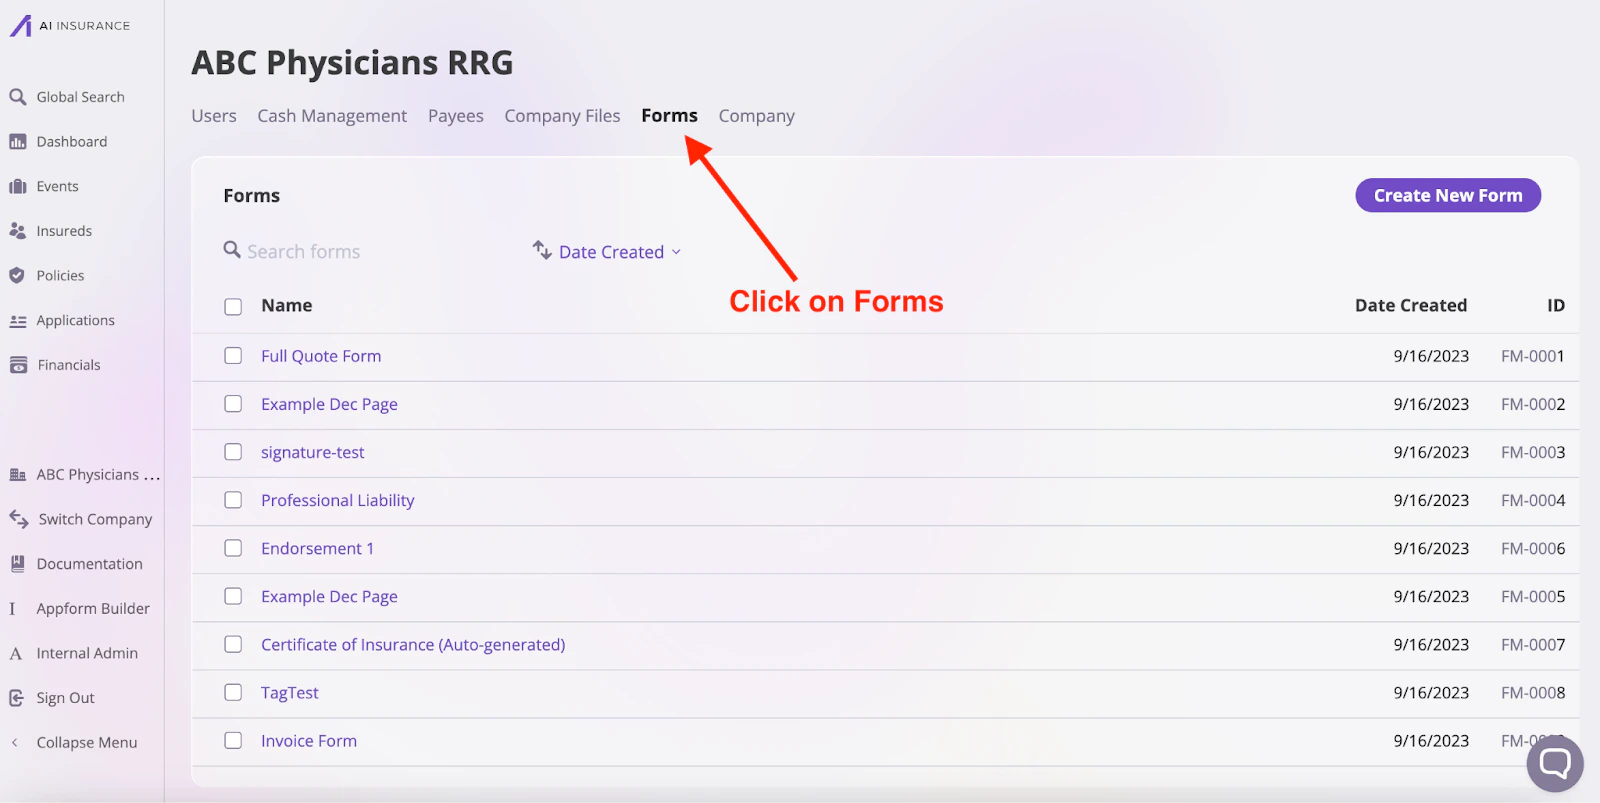
- Click on the Forms tab on your company’s designated page, as shown in the image below. You will be presented with a list of all your currently available forms.
Certificate of Insurance (Auto-generated)
If this is your first time accessing the Forms page, you’ll notice a form already exists. This form is the automatically generated Certificate of Insurance, fully customizable to meet your needs. You can click and open up the document to get a better understanding of how forms can work.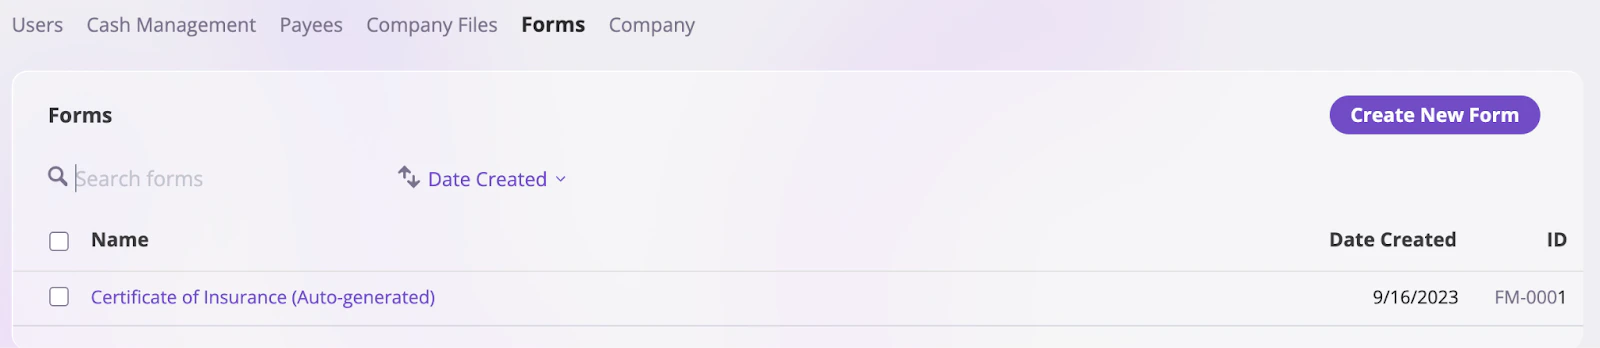
Categorize Forms
You can create forms tailored to specific object categories such as Insured, Policy, and Events. This simplifies the form creation process and enables the use of Smart Tags that are specific to each category. To create a form for a specific object category:- On the Forms page, click the Create New Form button to open the Edit Document page.

- On the Edit Document page, you’ll need to fill in the following fields:
- Document Name: The name of the form you are creating.
- Category: The object type the form will be associated with (e.g., Policy, Insured, Event).
Category field
The Category input field determines what Smart Tag you can add to a document. For example, you can add Smart Tags, like Billing Details and Binding Conditions, to forms created for quotes and endorsements; however, these tags will not be available for forms belonging to the Event category. Available form categories include:- Policy (Quote/Endorsement)
- Insured (Single Policy)
- Insured (Policies/Claims/Incidents)
- Claim/Incident
Create a Form
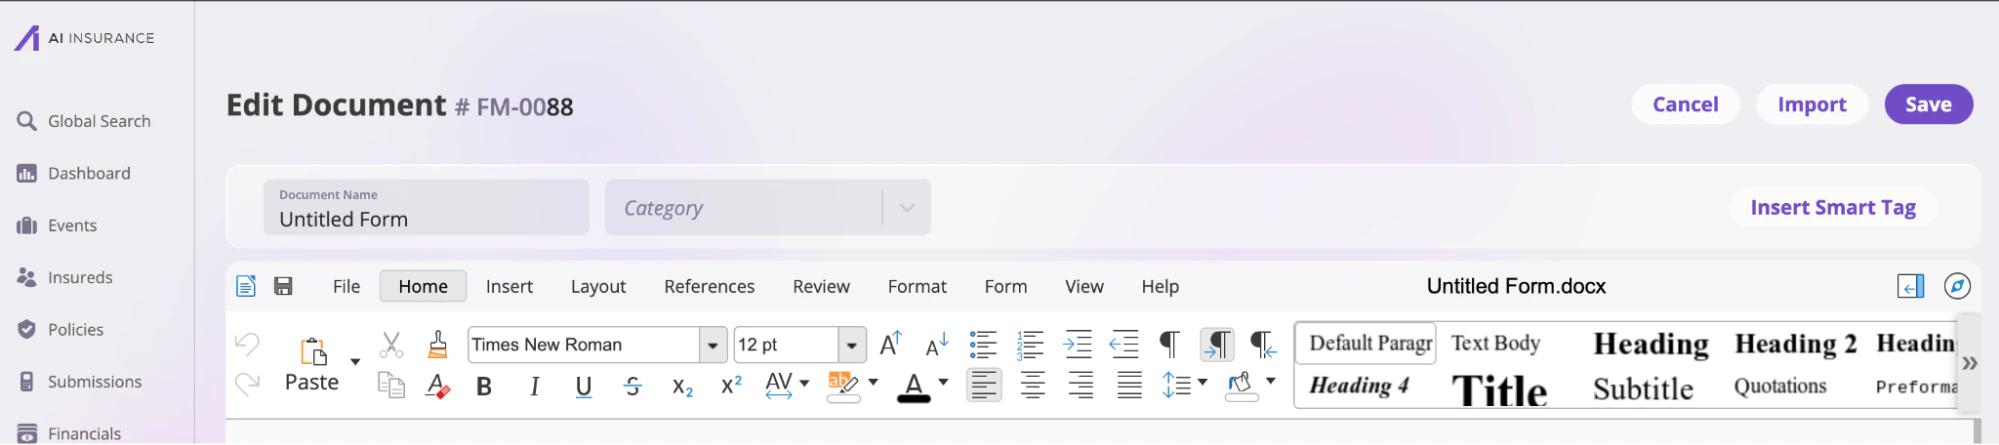
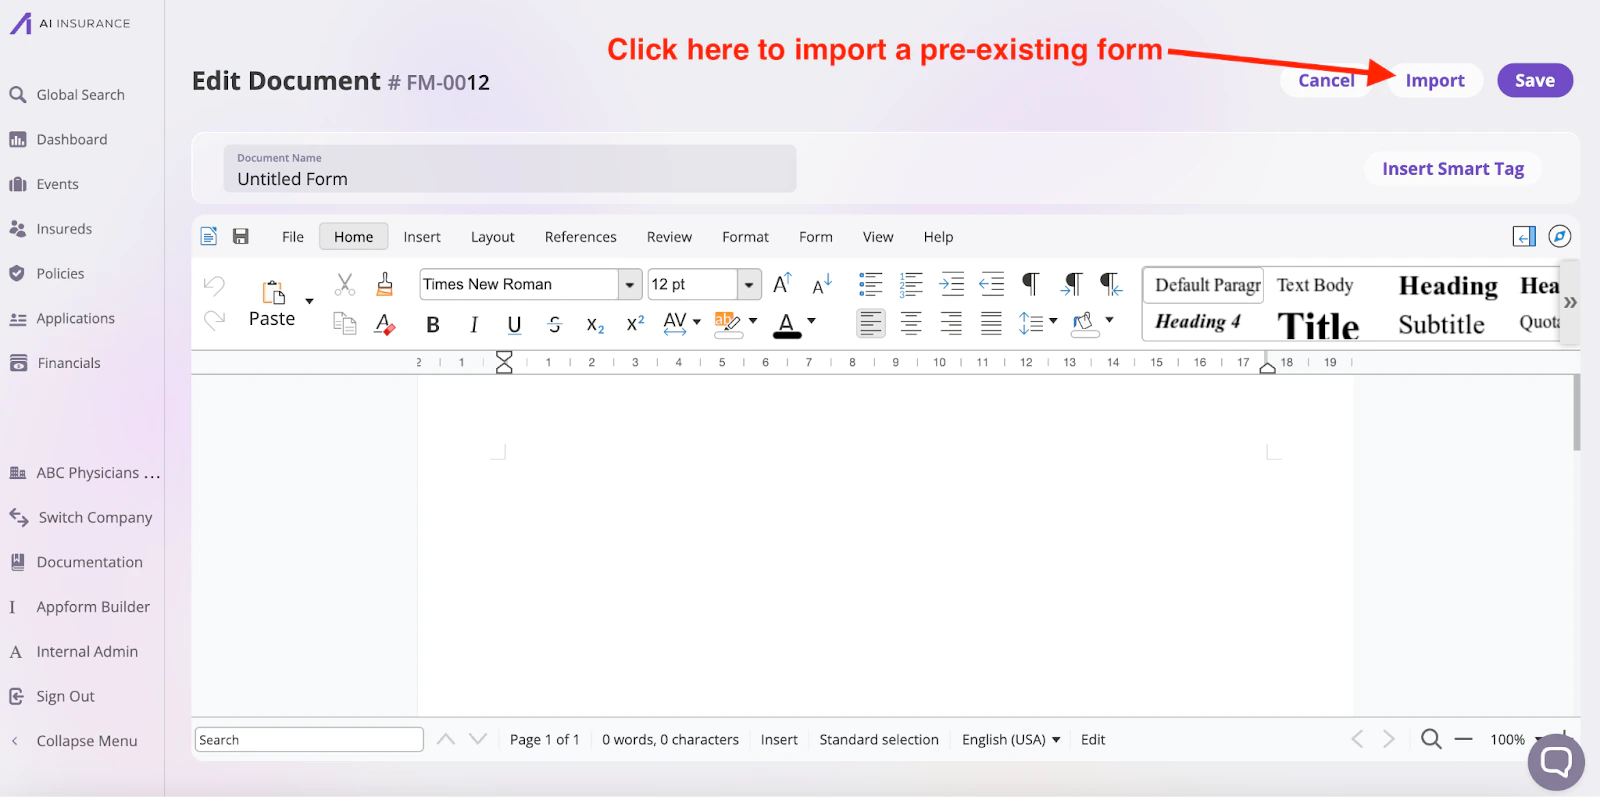
Click the Create New Form button on the forms page to open the form editor. The editor has a familiar interface similar to Microsoft Word, making it easy to use. Create a new form template from scratch or import an existing.docx file into the editor.
Only .docx files can be imported, and forms with macros are not supported.
Adding Smart Tags
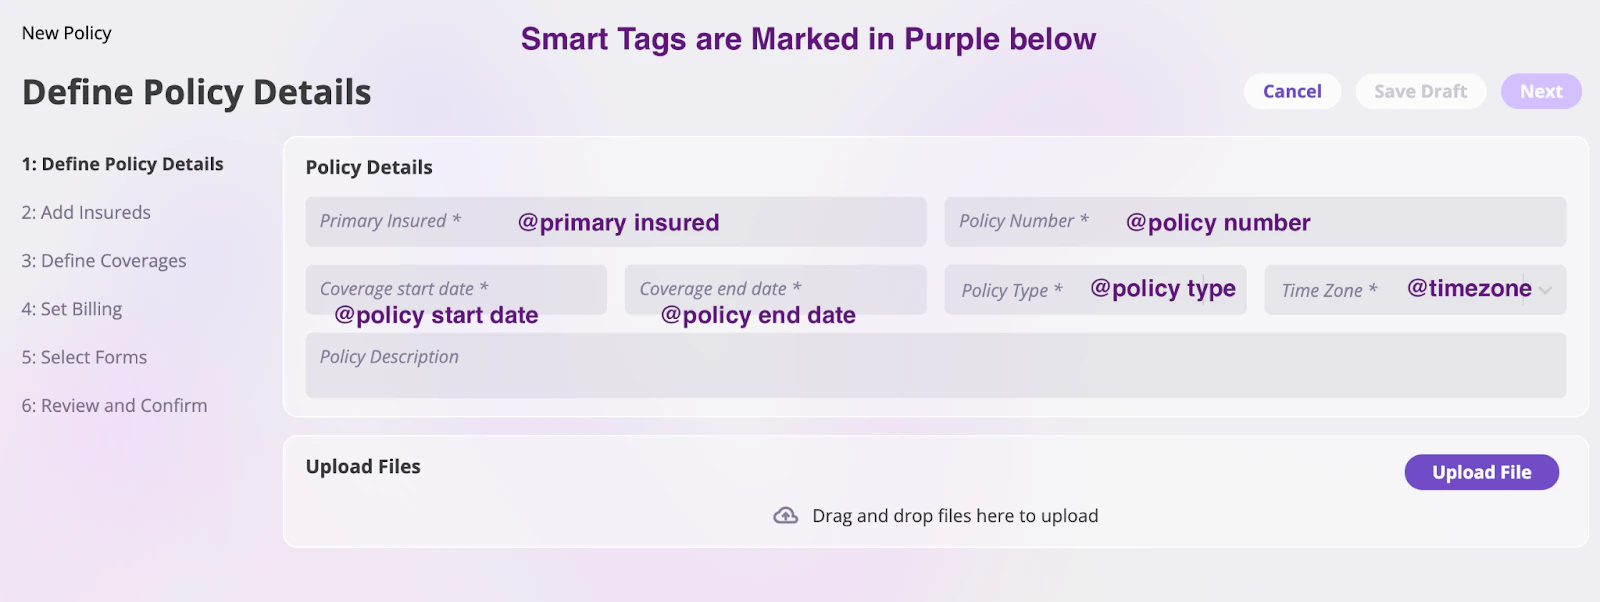
AI Insurance comes preloaded with several Smart Tags that automatically inject information about your insureds or the policy directly into a form. Common Smart Tags include Schedules of Insureds, Policy Numbers, Policy Start and End Date, etc. A complete list, including examples, is located on the Smart Tags documentation, and inserting them is as easy as placing your cursor in the correct place within your form and inserting a smart tag from the menu on the right: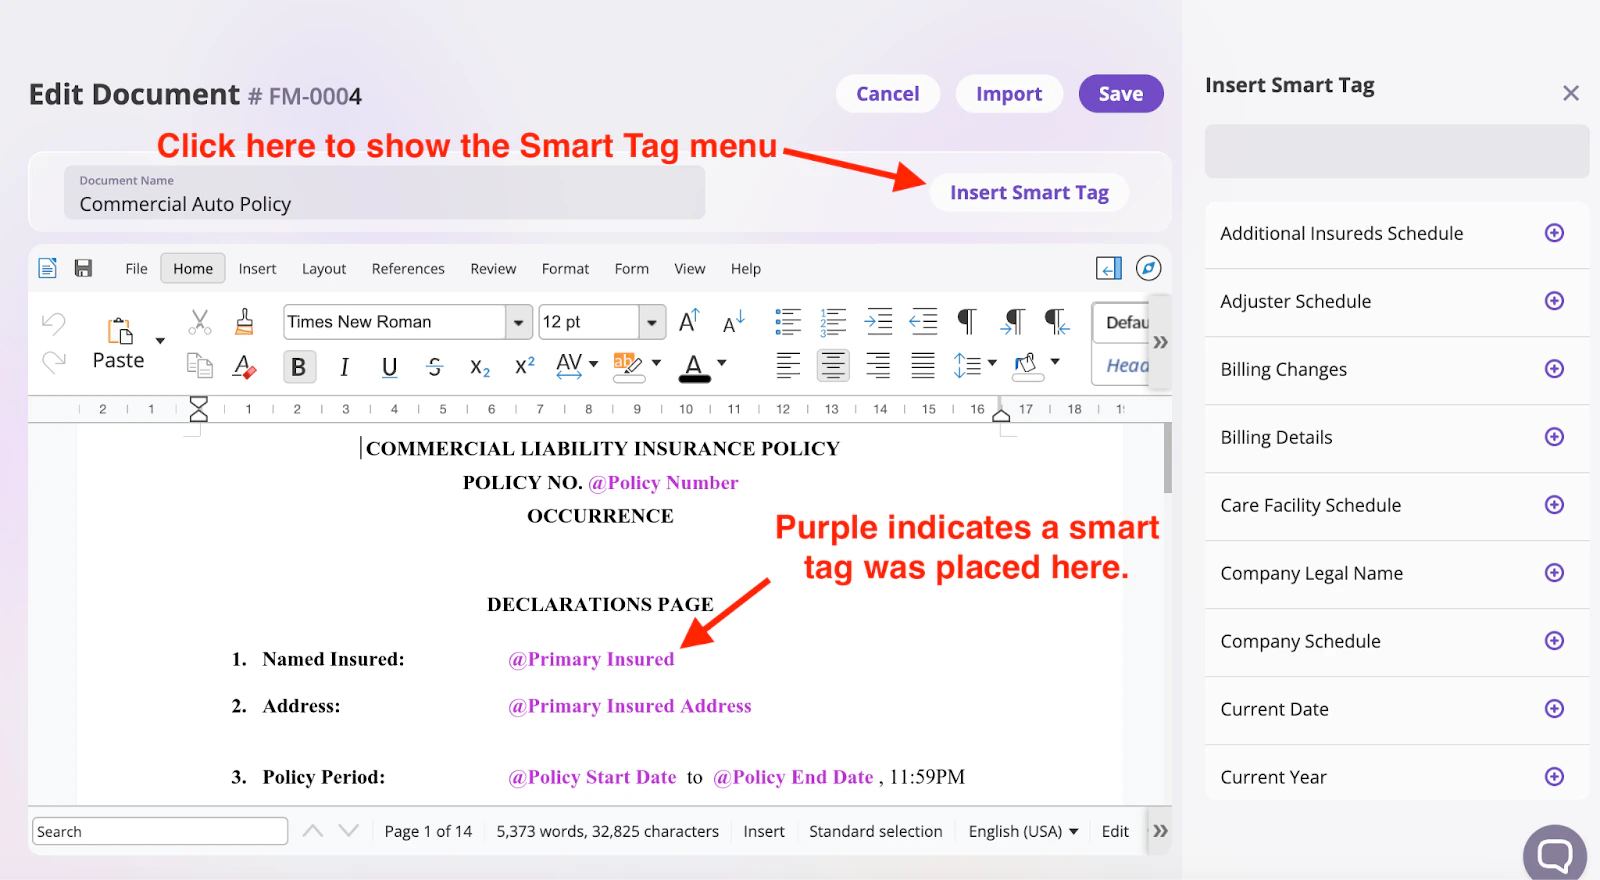
Saving a Form Template
After creating and reviewing your form, to save the form, edit the Document Name and click the Save button to save your form.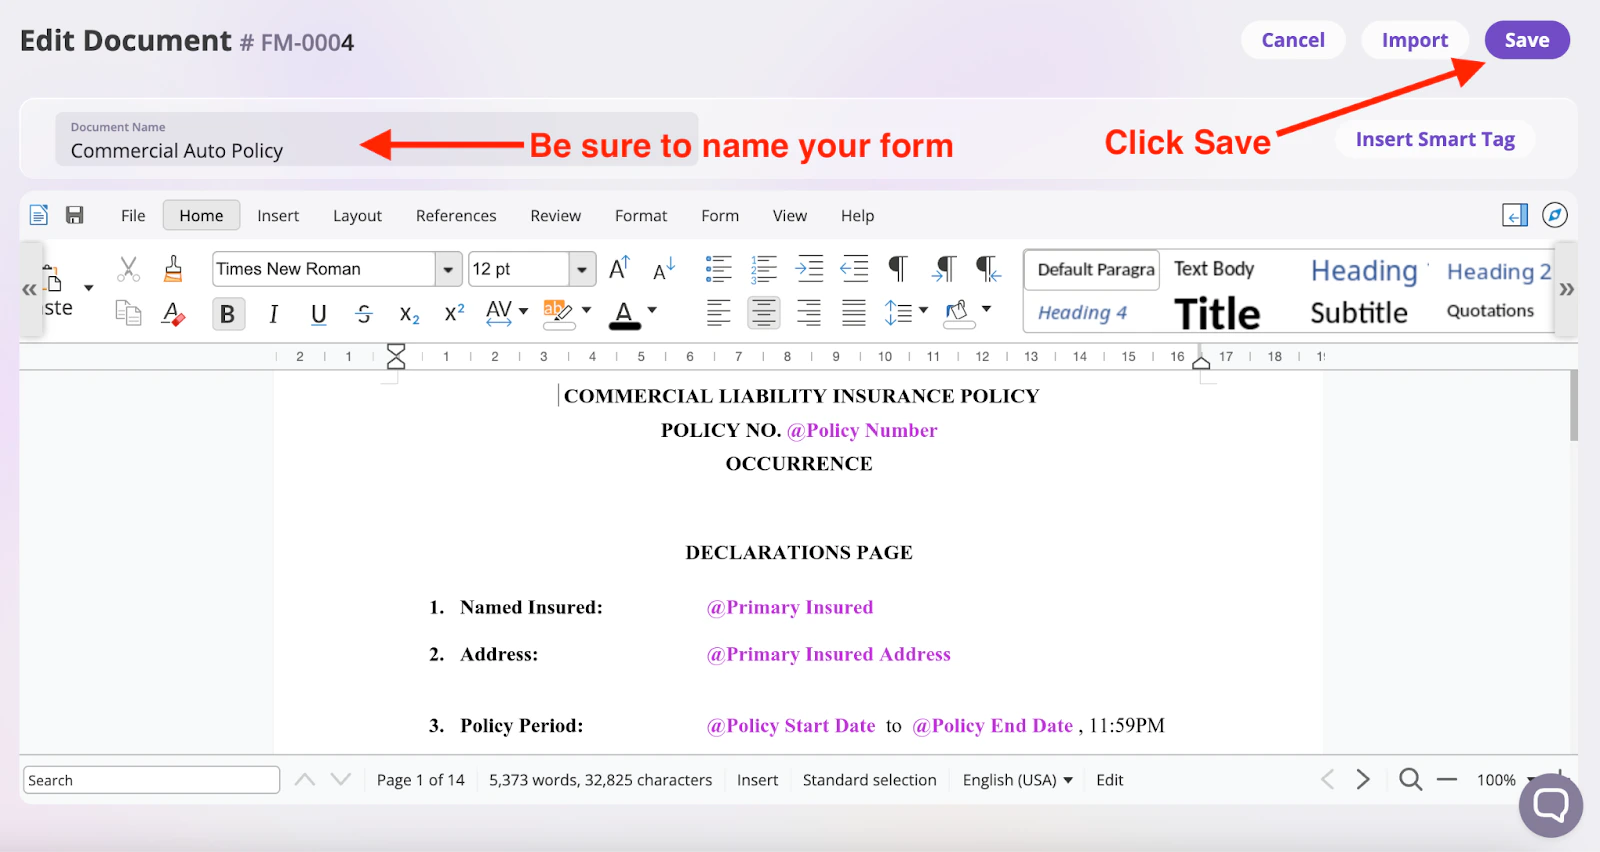
Edit a Form
On your forms page, select the form you would like to edit. This action will open the form in the form editor. Make your changes, and click the Save button to save the changes.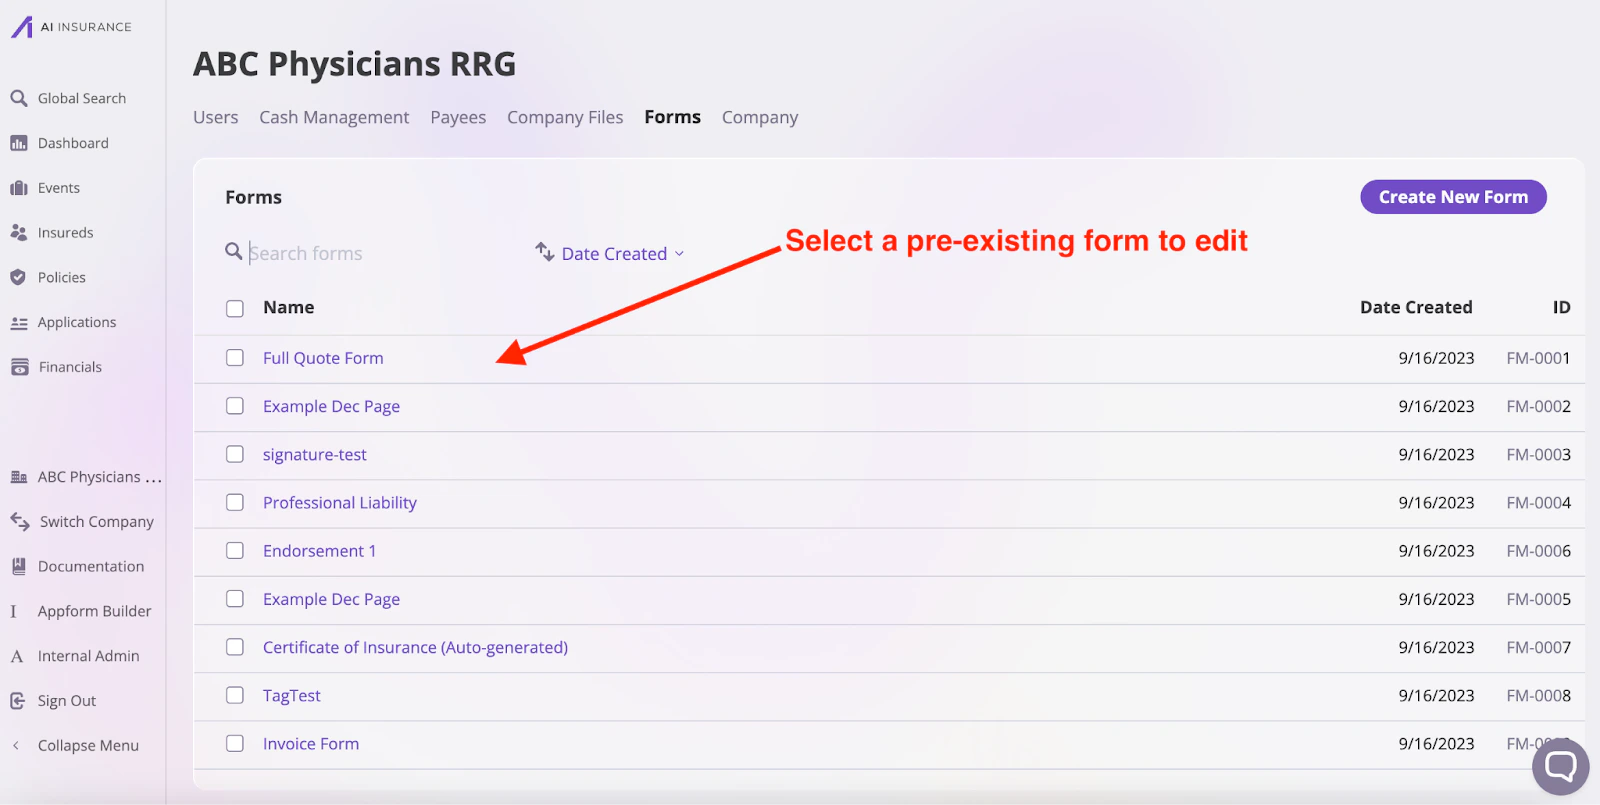
Testing a Form Template
We recommend integrating your form into a policy for thorough validation that your form looks and behaves as expected. To do so, create a policy by following the steps outlined in the Policy Issuance documentation. During policy creation, do the following:- Take note of the smart tags, as you might need to reference them in your form
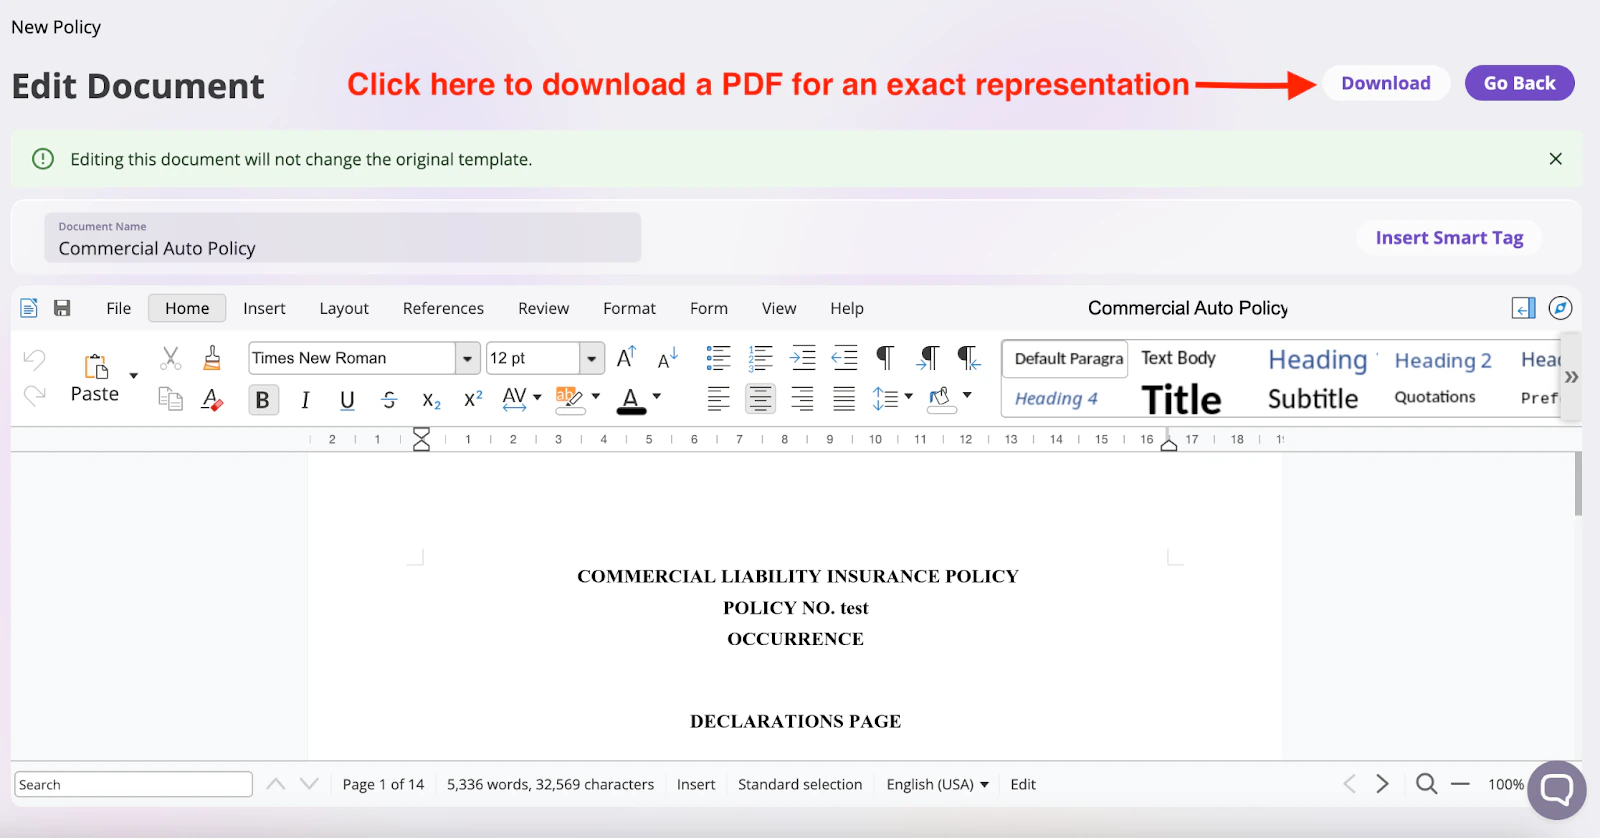
- During the Select Forms section of the policy creation process, search and add your form and click Edit or Rename to review your form within the Forms Editor
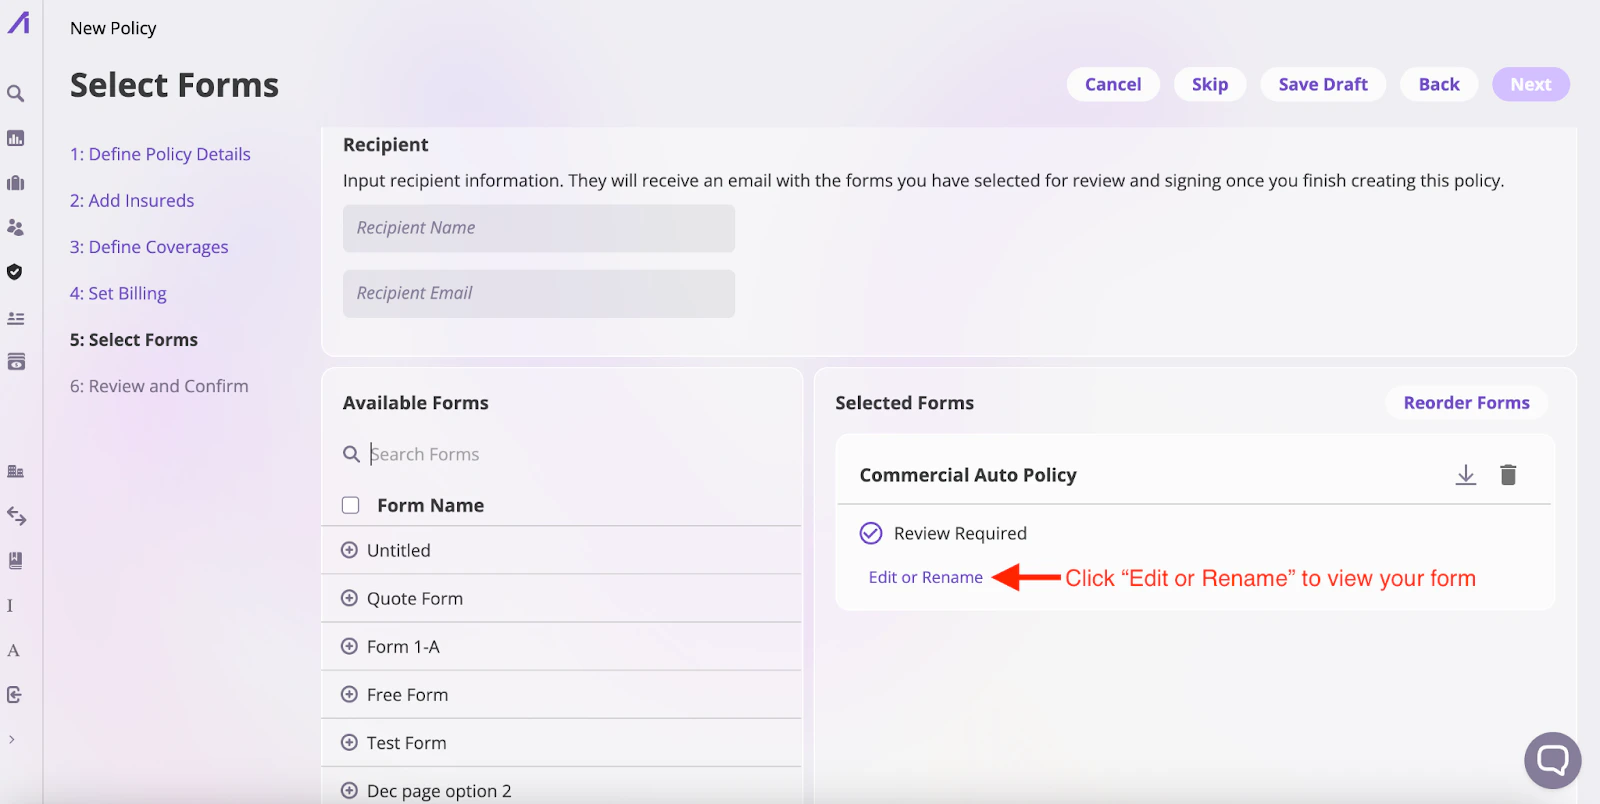
- Confirm that your form looks as intended
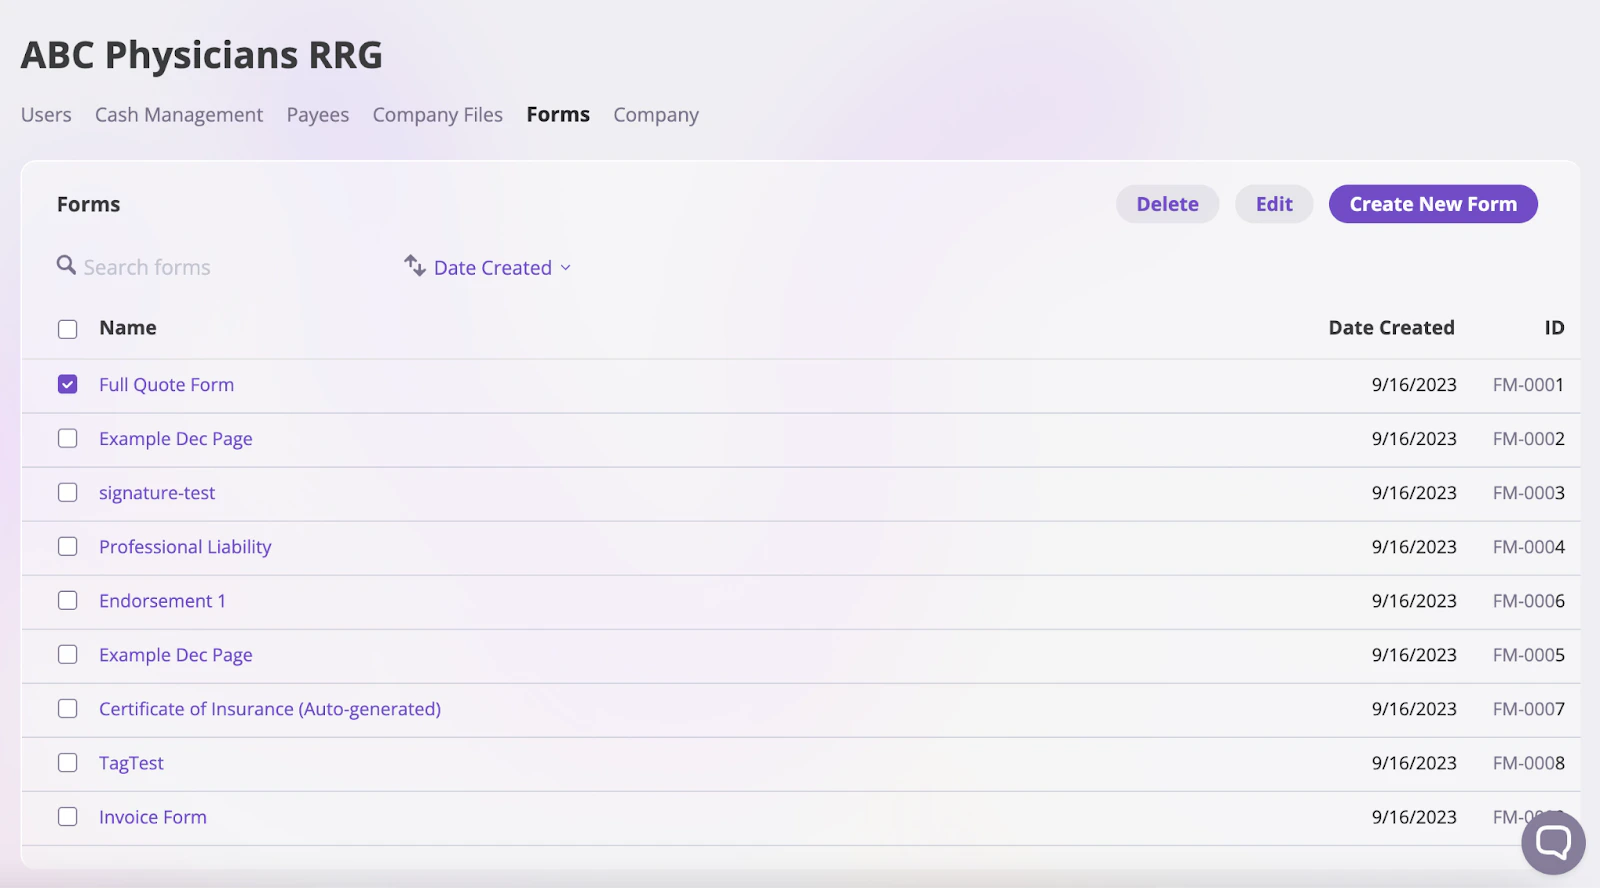
Deleting a Form Template
To delete a form, select the form by clicking the checkbox by the form and click the Delete button.