> ## Documentation Index
> Fetch the complete documentation index at: https://docs.aiinsurance.io/llms.txt
> Use this file to discover all available pages before exploring further.
# Contacts
The **Contacts** section allows you to associate people—such as brokers, agents, or clients—with an entity like an Insured, Policy, or Claim. This improves clarity and ensures easy access to key contact details throughout your workflow.
## Accessing the Contacts Tab
1. To create a contact, navigate to an entity (Policy, Insured or Claim) in this example we'll add a contact to an **Insured**.
2. After that, from the navigation tabs near the top of the page, click **Contacts**.
 This opens a table view showing all existing contacts. If none have been added yet, you'll see a message:\
“No contacts have been added yet.”
***
## Adding a New Contact
To add a contact to the current entity:
1. Click the **Add Contact** button on the right side of the Contacts table.
* This will open a dropdown with options to either:
* Add New Contact
* Link Existing Contact (if available)
This opens a table view showing all existing contacts. If none have been added yet, you'll see a message:\
“No contacts have been added yet.”
***
## Adding a New Contact
To add a contact to the current entity:
1. Click the **Add Contact** button on the right side of the Contacts table.
* This will open a dropdown with options to either:
* Add New Contact
* Link Existing Contact (if available)
 2. Select **Add New Contact**.
3. Fill in the contact details in the form:
* Contact Name
* Title
* Email
* Phone Number
* Address
* Apartment or Suite Number
* Description (optional notes or context)
2. Select **Add New Contact**.
3. Fill in the contact details in the form:
* Contact Name
* Title
* Email
* Phone Number
* Address
* Apartment or Suite Number
* Description (optional notes or context)
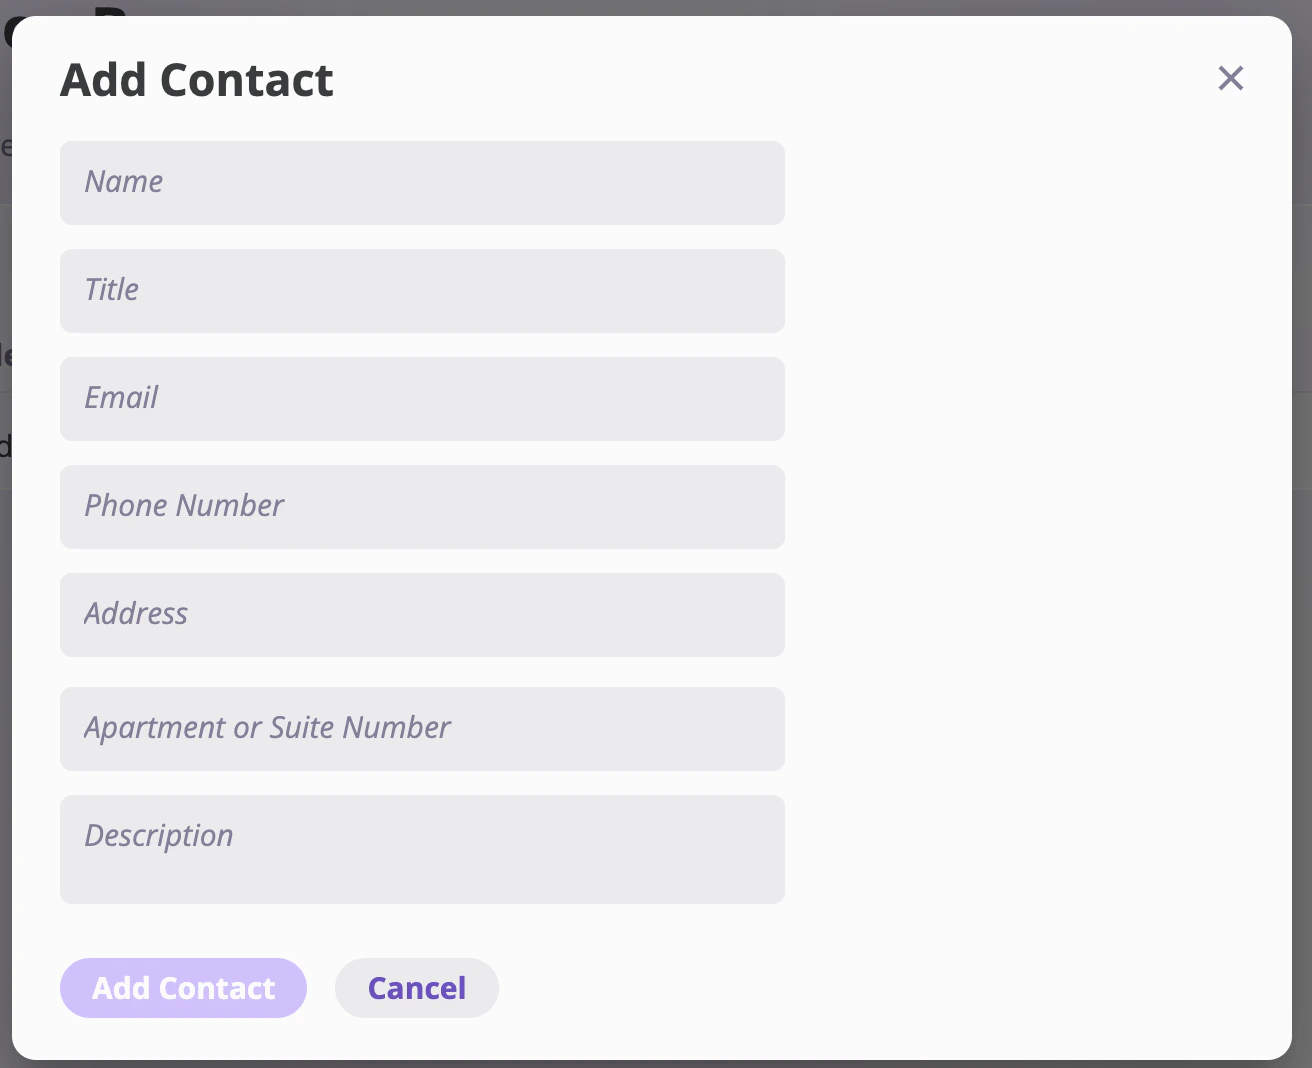 4. Click **Add Contact** to add the contact.
Once saved, the contact will appear in the Contacts table associated with the current entity.
***
## Adding an Existing Contact
If a contact already exists in your system (e.g. previously added to another policy, insured, or claim), you can quickly associate them with this entity using the **Existing Contact** option:
#### Steps to Add an Existing Contact
1. Navigate to the entity’s **Contacts** tab (e.g. for an insured, policy, or claim).
2. Click the **Add Contact** button in the top-right of the Contacts table.
3. From the dropdown, select **Existing Contact**.
4. Click **Add Contact** to add the contact.
Once saved, the contact will appear in the Contacts table associated with the current entity.
***
## Adding an Existing Contact
If a contact already exists in your system (e.g. previously added to another policy, insured, or claim), you can quickly associate them with this entity using the **Existing Contact** option:
#### Steps to Add an Existing Contact
1. Navigate to the entity’s **Contacts** tab (e.g. for an insured, policy, or claim).
2. Click the **Add Contact** button in the top-right of the Contacts table.
3. From the dropdown, select **Existing Contact**.
 4. In the **Add Existing Contacts** modal:
* Use the dropdown to search for an existing contact by name.
* Select the desired contact(s).
5. Click **Add Contacts** to associate the selected contact(s) with this entity.
4. In the **Add Existing Contacts** modal:
* Use the dropdown to search for an existing contact by name.
* Select the desired contact(s).
5. Click **Add Contacts** to associate the selected contact(s) with this entity.
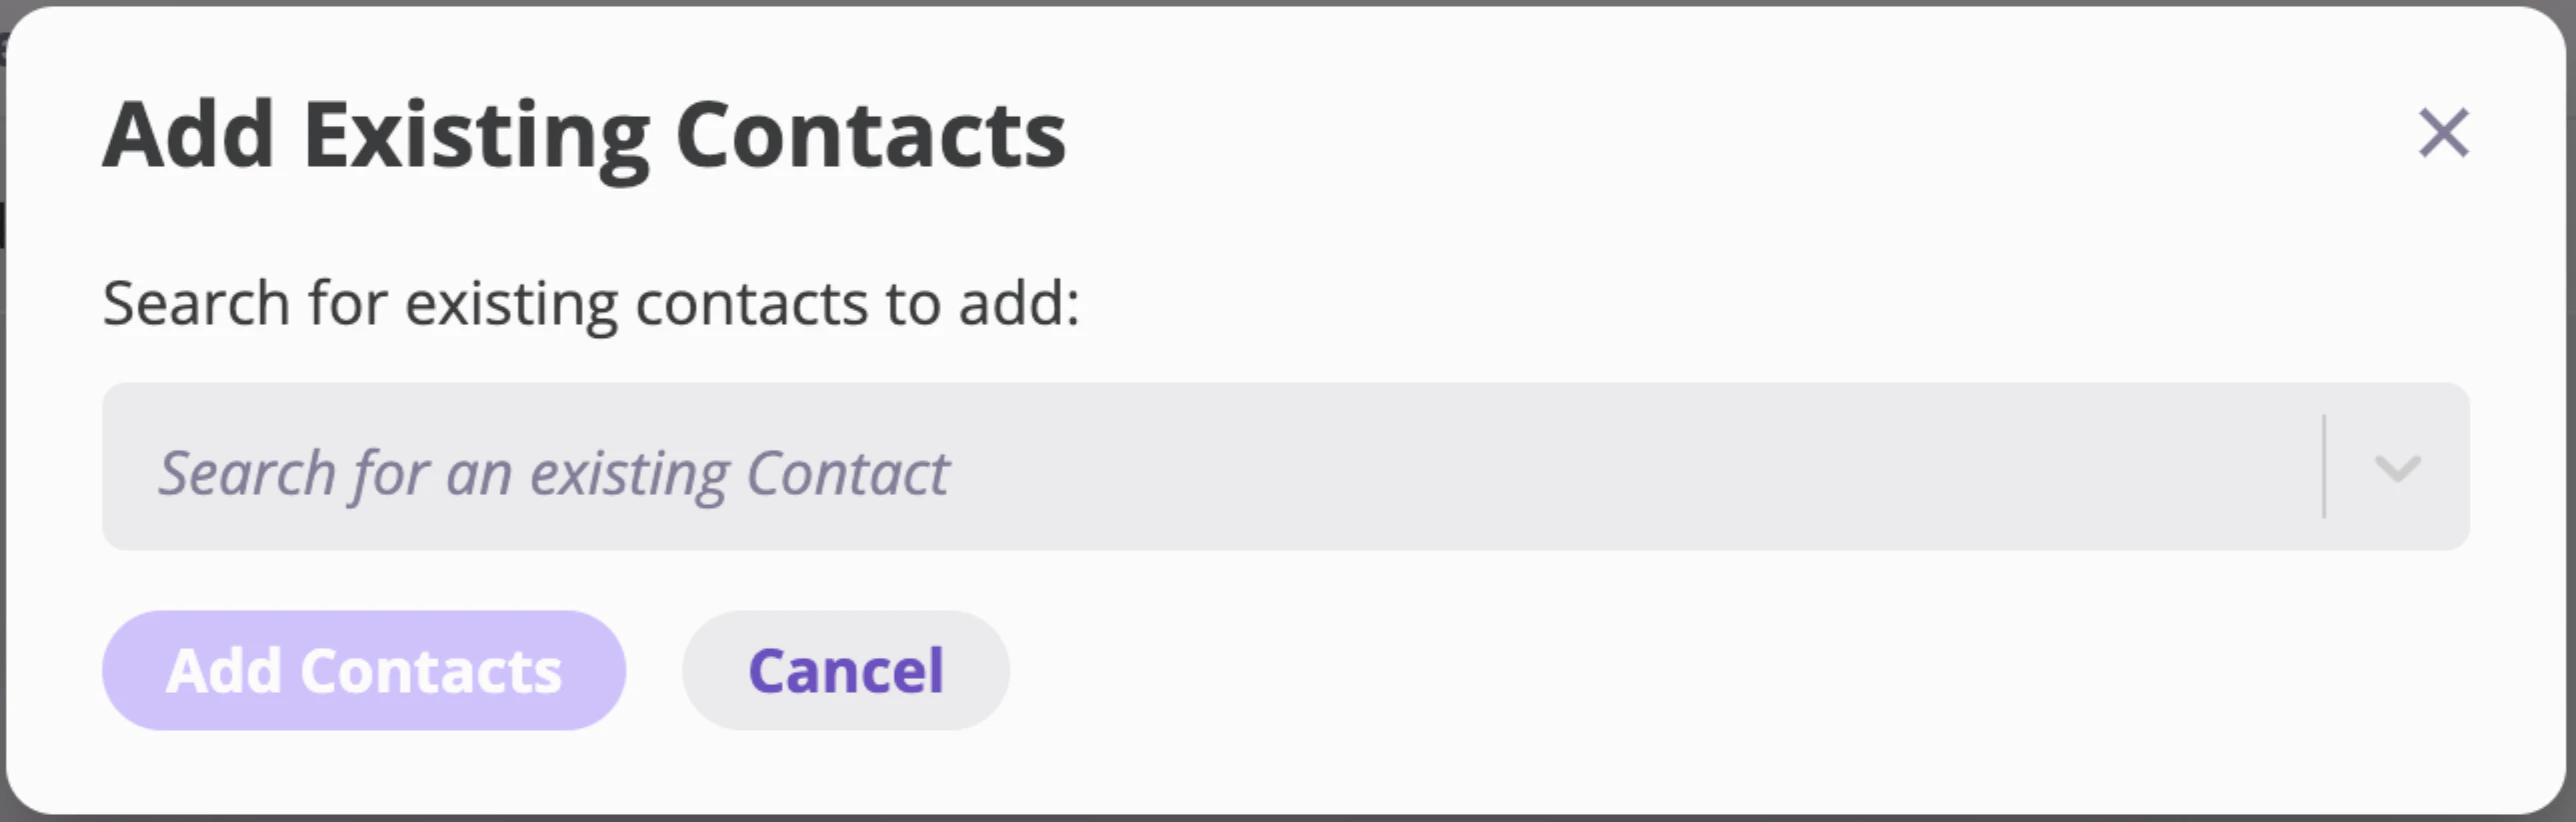 The selected contacts will now appear in the Contacts table and be associated with this entity